 sentry实践及性能监控
# 监控汇总
# 国内服务
- https://www.fundebug.com/
- https://www.frontjs.com/ 功能比fundebug多
- https://www.aliyun.com/product/arms阿里的ARMS
- http://www.mmtrix.com/ 云测评 云监测
- https://yueying.effirst.com/UC研发效能开发的岳鹰
- https://github.com/BetterJS/badjs-report腾讯imweb的badjs
# 国外服务
- https://sentry.io/welcome/ (opens new window) 【推荐】
- https://trackjs.com (opens new window) stackoverflow、谷歌、微软在用
- https://instabug.com (opens new window) PayPal、雅虎在用
- https://rollbar.com/ (opens new window) Uber、wework
- https://www.bugsnag.com/
# Sentry的部署
# 搭建方式
Sentry的搭建主要有两种
- 通过Python安装 官方教程链接 (opens new window)
- 通过Docker容器安装.教程地址 (opens new window) 【推荐】
# 1、拉取sentry读取安装说明
更新:sentry 有更新,参考readme文件内容如下,具体以官方为准
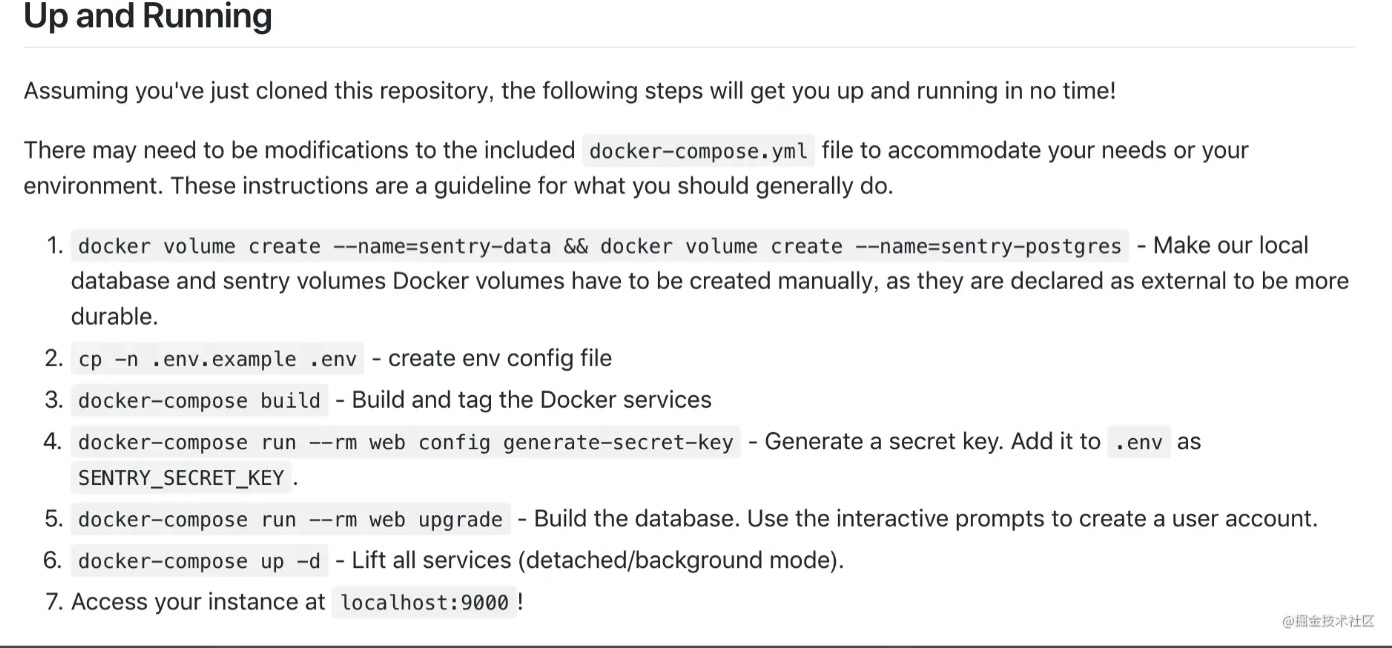
------------------以下为更新前操作步骤-----------------
git clone https://github.com/getsentry/onpremise.git
cd onpremise
#根据onpremise目录中的README.md 内容来操作:
cat README.md
---------
1. `mkdir -p data/{sentry,postgres}` - Make our local database and sentry config directories.
    This directory is bind-mounted with postgres so you don't lose state!
2. `docker-compose build` - Build and tag the Docker services
3. `docker-compose run --rm web config generate-secret-key` - Generate a secret key.
    Add it to `docker-compose.yml` in `base` as `SENTRY_SECRET_KEY`.
4. `docker-compose run --rm web upgrade` - Build the database.
    Use the interactive prompts to create a user account.
5. `docker-compose up -d` - Lift all services (detached/background mode).
6. Access your instance at `localhost:9000`!
----------
1
2
3
4
5
6
7
8
9
10
11
12
13
14
15
2
3
4
5
6
7
8
9
10
11
12
13
14
15
# 2、在onpremise下创建目录
mkdir -p data/{sentry,postgres}
# 一定执行,不然报错,然后再生成key
1
2
2
# 3、取项目的key
这个过程很漫长,可能中间会卡,或者出现一些错误,多执行几次就好了
docker-compose run --rm web config generate-secret-key
#生成的密匙类似这样:41dvtnqzc#g(*s8ichpp8r@gqzu(p4h(+l6qi(d9+f9ue2u+j9
1
2
2
# 4、key 到 SENTRY_SECRET_KEY
编辑docker-compose.yml,复制获取的key 到 SENTRY_SECRET_KEY
vim docker-compose.yml
1
# 5、创建项目的superuser
过程中会让我们填写邮箱和密码
docker-compose run --rm web upgrade
1
# 6、开启sentry服务
docker-compose up -d
1
# 7、登录sentry验证
这时候输入你的 http:😕/ip:9000 即可进入你的 sentry
使用第 5) 步的用户名密码进行登录即可
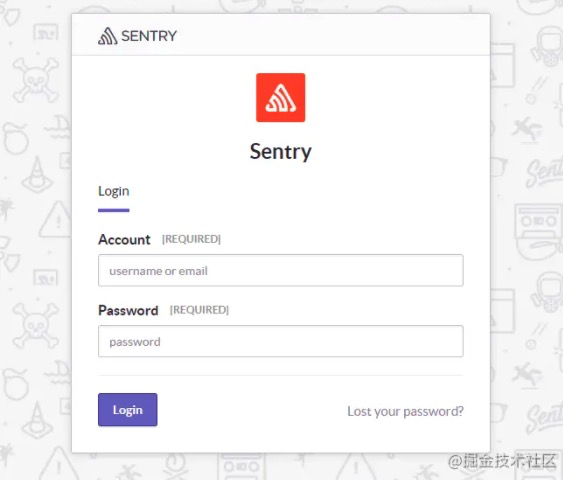
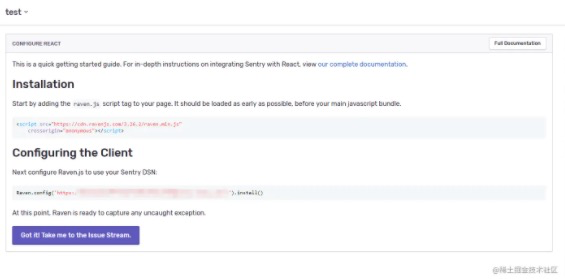
进入后进行简单配置,然后右上角可以点击 New Project 创建,选择需要项目类型,根据提示进行配置
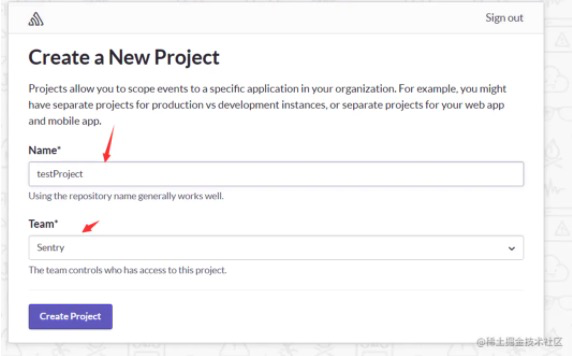
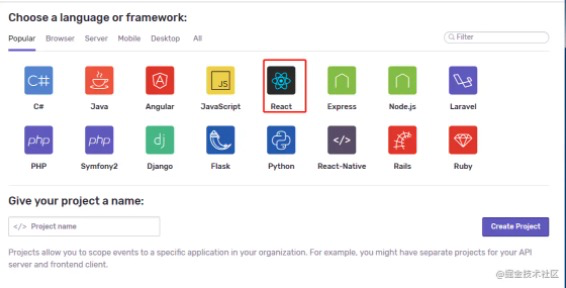
搭建注意事项:
1) 在执行
docker-compose run --rm web upgrade1时报错。

#忘记执行 docker-compose build
1
- 2)执行
docker-compose up -d报错,关闭docker再重新打开。
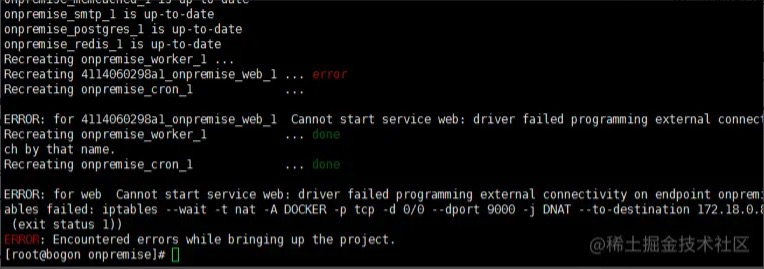
systemctl stop docker #关闭docker:
systemctl start docker #启动docker:
1
2
2
- 3)执行
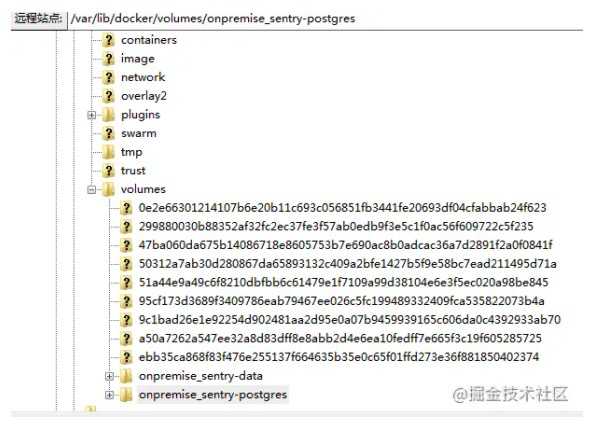
docker-compose run --rm web upgrade如果忘记设置用户名或者设置错误,部署完后不能登录则重新安装数据库。
# 删除 /var/lib/docker/volumes 下的 onpremise_sentry-postgres 文件夹。
# 重新执行命令 docker-compose run --rm web upgrade
1
2
2
- 4)用
docker composer启动docker集群时报错:
# ERROR: Couldn't connect to Docker daemon at http+docker://localunixsocket - is it running?
#应该是docker后台服务没有开启
#执行:systemctl start docker
1
2
3
2
3
- 5)
docker常用的一些操作
#查看所有容器:
docker ps -a
#查看运行容器:
docker ps
#停用所有容器:
docker stop $(docker ps -q)
#删除所有容器:
docker rm $(docker ps -aq)
#停用和删除所有容器:
docker stop $(docker ps -q) & docker rm $(docker ps -aq)
1
2
3
4
5
6
7
8
9
10
2
3
4
5
6
7
8
9
10
# Sentry使用
# 1、管理工具sentry-cli
安装Sentry对应的命令行管理工具sentry-cli
npm i -g @sentry/cli
sentry-cli -V // 检查版本
1
2
2
# 2、生成token
点击头像左下角,选择API,生成token,勾选project:write权限
# 3、登陆
$ sentry-cli --url https://myserver/ login
# 回车后输入上一步获得的 token 即可
1
2
2
# 4、release控制
# 创建release
sentry-cli releases -o 组织 -p 项目 new staging@1.0.1

# 这里的 staging@1.0.1 就是我们指定的版本号.
# -o -p可以通过页面左上角可以看到。现在我们可以通过创建多个版本号来进行异常分类。 同时,也可以通过页面中"Releases"查看是否创建成功
1
2
3
4
2
3
4
# 本地应用release
# 安装raven-js
npm install raven-js --save

# 回到前端项目中,在config添加对应的release,指定版本后,每次上报的异常就会分类到该版本下。
#import Raven from 'raven-js';
#Raven.config(DSN, {release: 'staging@1.0.1'}).install()
1
2
3
4
5
6
2
3
4
5
6
# 删除release
sentry-cli releases -o 组织 -p 项目 delete staging@1.0.1
# 注意 删除某个release时需要将其下的异常处理掉,并将该版本的sourcemap文件清空
# 完成上面两步可能还要等待2小时才能删除,不然会报错:该版本还有其它依赖。
1
2
3
2
3
# 5、SourceMap管理
目前来说,前端项目基本都会压缩混淆代码,这样导致Sentry捕捉到的异常堆栈无法理解。
我们希望在Sentry直接看到异常代码的源码时就需要上传对应的source和map。
# 上传 SourceMap
sentry-cli releases -o 组织 -p 项目 files staging@1.0.1 upload-sourcemaps js文件所在目录 --url-prefix 线上资源URI
1
- PS: 记得别把map文件传到生产环节了,又大又不安全…
- PS: 免费服务的文件上限为40MB。
# 清空 SourceMap 文件
sentry-cli releases files staging@1.0.1 delete --all
1
也可以选择在 版本>工件 里点击一个个删除。。。。
# 结合webpack配置
结合webpack在项目中配置进行sourcemap上传
# 安装webpack-sentry-plugin
npm i -D webpack-sentry-plugin
var SentryPlugin = require('webpack-sentry-plugin');

plugins: [
    //...
    new SentryPlugin({
        // Sentry options are required
        baseSentryURL: 'https://sentry.mycorp.com/api/0', # 如果是内网使用需要加
        organization: 'sentry',
        project: 'react',
        apiKey: process.env.SENTRY_API_KEY,

        // Release version name/hash is required
        release: process.env.GIT_SHA,
        deleteAfterCompile: true,
        suppressErrors: true,
        filenameTransform: function (filename) {
            return 'http://xxx.com/' + filename
        }
    })
]
1
2
3
4
5
6
7
8
9
10
11
12
13
14
15
16
17
18
19
20
21
22
2
3
4
5
6
7
8
9
10
11
12
13
14
15
16
17
18
19
20
21
22
# 参考链接
上次更新: 2022/04/15, 05:41:29
