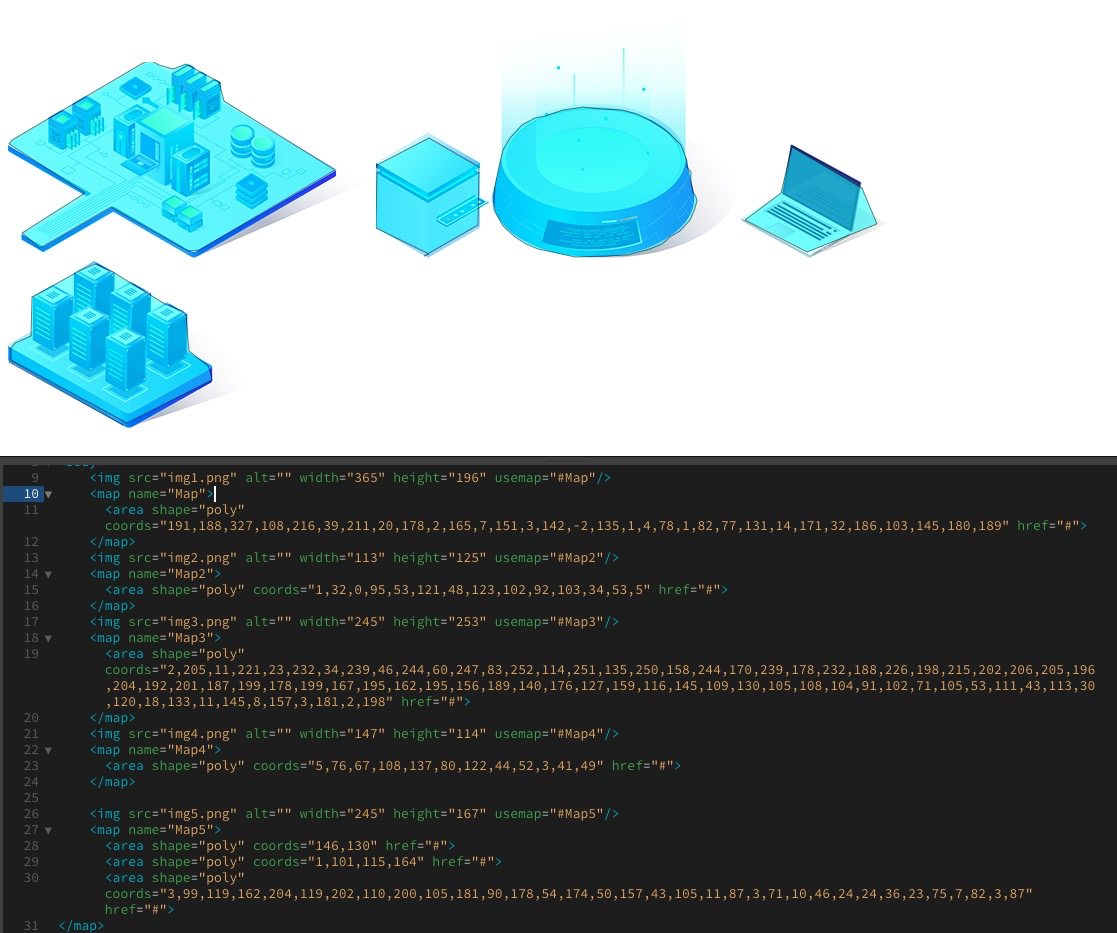
 img标注热点分布
# 场景
浏览网页时,经常看到一些图片上会出现特别的超链接,即在一张图片上有多个局部区域和不同的网页链接,比如地图链接。可以给一张图片添加很多不同的链接
这就是映射图像(Image Map),它是指一幅根据链接对象不同而被人为划分为若干指向不同链接的区域或“热点”(Hotspots)的相应图像区域,当点击设置好的“热点”时,会弹出链接的相应页面。
# 标注
# Dreamweaver制作映射图像——热点图像区域
现在就利用Dreamweaver CS5的图像热点功能制作一个地图链接的实例。
在 Dreamweaver CS5 中新建一个HTML文件取名为 map.html,右边图片,现在最后面的属性,再选择map中的折线,如下图所示:

# map标签
**map标签的用途:**是与img标签绑定使用的,常被用来赋予给客户端图像某处区域特殊的含义,点击该区域可跳转到新的文档。
因为map标签是与img标签绑定使用的,所以我们需要给map标签添加ID和name属性,让img标签中的usemap属性引用map标签中的id或者name属性(由于浏览器的不同,usemap属性接收二者之一的值,所以通常name和id属性二者都写,值相同),并配合area标签进行使用。
<!doctype html>
<html>
    <head></head>
    <body>
        <img src="http://s2.sinaimg.cn/middle/69906822ga1e24ba6e971&690" width="444" height="395" alt="中国地图" usemap="#province"/>
    <map name="province" id="province">
        <area shape="rect" coords="80,112,110,125"  alt="新疆" href="https://baike.baidu.com/item/%E6%96%B0%E7%96%86/132263?fr=aladdin">
        <area shape="rect" coords="77,209,110,229"  alt="西藏" href="https://baike.baidu.com/item/%E8%A5%BF%E8%97%8F/130045">
        <area shape="rect" coords="150,176,185,192"  alt="青海" href="https://baike.baidu.com/item/%E9%9D%92%E6%B5%B7/31638">
        <area shape="rect" coords="197,236,235,261"  alt="四川" href="https://baike.baidu.com/item/%E5%9B%9B%E5%B7%9D/212569">
        <area shape="rect" coords="170,300,211,325"  alt="云南" href="https://baike.baidu.com/item/%E4%BA%91%E5%8D%97/206207">
        <area shape="circle" coords="227,200,8"  alt="甘肃" href="https://baike.baidu.com/item/%E7%94%98%E8%82%83">
        <area shape="circle" coords="240,177,5"  alt="宁夏" href="https://baike.baidu.com/item/%E7%94%98%E8%82%83">
        <area shape="circle" coords="285,133,8"  alt="内蒙古" href="https://baike.baidu.com/item/%E7%94%98%E8%82%83">
    </map>
    </body>
</html>
2
3
4
5
6
7
8
9
10
11
12
13
14
15
16
17
# Shape属性说明
Rect: 定义一个矩形区域,coords属性设置值为左上角、右下角的坐标,各个坐标之间用逗号分开。
Poly:定义一个多边型区域,coords属性设置值为多边形各个顶点的坐标值。
Circle:定义一个圆形区域,coords属性设置值为圆心坐标及半径,前两个参数分别为圆心的横、纵坐标,第三个参数为半径。
示范:
<img src="china.gif" usemap="#mymap">
<map name="mymap">
  <area shape="rect" href="a.html" coords="0,0,50,50">
  <area shape="circle" href="b.html" coords="120,80,50">
  <area shape="poly" href="c.html" coords="0,0,50,50,100,100,200,200">
</map>
2
3
4
5
6
# 提示和注释
注释:<img> 中的 usemap 属性可引用 <map>中的 id 或 name 属性(由浏览器决定),所以我们需要同时向<map>添加 id 和 name 两个属性
# 标准属性
id, class, title, style, dir, lang, xml:lang, tabindex, accesskey 如需完整的描述,请访问标准属性。
# 事件属性
onclick, ondblclick, onmousedown, onmouseup, onmouseover, onmousemove, onmouseout, onkeypress, onkeydown, onkeyup, onfocus, onblur 如需完整的描述,请访问事件属性; 创建图像映射 本例显示如何创建带有可供点击区域的图像映射。其中的每个区域都是一个超级链接。
定义和用法 coords 属性规定区域的 x 和 y 坐标,(该坐标是相对图片的坐标,即图像左上角的坐标是 "0,0")。 coords 属性与 shape 属性配合使用,来规定区域的尺寸、形状和位置。
# 动态属性设置
 <div style={{ width: 846, position: 'absolute' }}>
              {this.systemData.map((item, key) => (
                <div
                  key={item.id}
                  id={item.id}
                  className={classnames(styles.block, styles[item.id], currentItem && currentItem.id === item.id ? styles.active : null)}
                >
                  <div className={styles.coverImg}>
                    <img src={item.img} alt="" width={item.imgWidth} height={item.imgHeight} border="0" useMap={`#Map${item.id}`} />
                    <map name={`Map${item.id}`} id={`Map${item.id}`}>
                      <area
                        aria-label={item.name}
                        shape="poly"
                        coords={item.coords}
                        onMouseOver={() => {
                          this.mouseEnter(item);
                        }}
                        onMouseOut={() => {
                          this.mouseLeave(item.id);
                        }}
                        onClick={() => {
                          if (!item.linkName) return;
                          this.setPath(key);
                        }}
                        // eslint-disable-next-line no-void
                        onFocus={() => void 0}
                        // eslint-disable-next-line no-void
                        onBlur={() => void 0}
                      />
                    </map>
                    <span className={styles.nameTip}>
                      {item.name}
                      <i className={styles.triangle} />
                    </span>
                  </div>
                </div>
              ))}
            </div>
          </div>
2
3
4
5
6
7
8
9
10
11
12
13
14
15
16
17
18
19
20
21
22
23
24
25
26
27
28
29
30
31
32
33
34
35
36
37
38
39
# 参考链接
https://www.cnblogs.com/okgoodman/p/8586524.html
